
Thank you! Your submission has been received! 📨
Oops! Something went wrong while submitting the form.
Offline playback is essential for video-heavy apps where users might not always have a stable internet connection - think travel, commuting, or regions with limited connectivity. By allowing your users to download videos directly to their device, you improve reliability, user experience, and engagement.
Before we begin, make sure you’ve already set up react-native-video in your Expo project. If you haven’t yet, check out our earlier tutorial on how to integrate react-native-video with Expo.
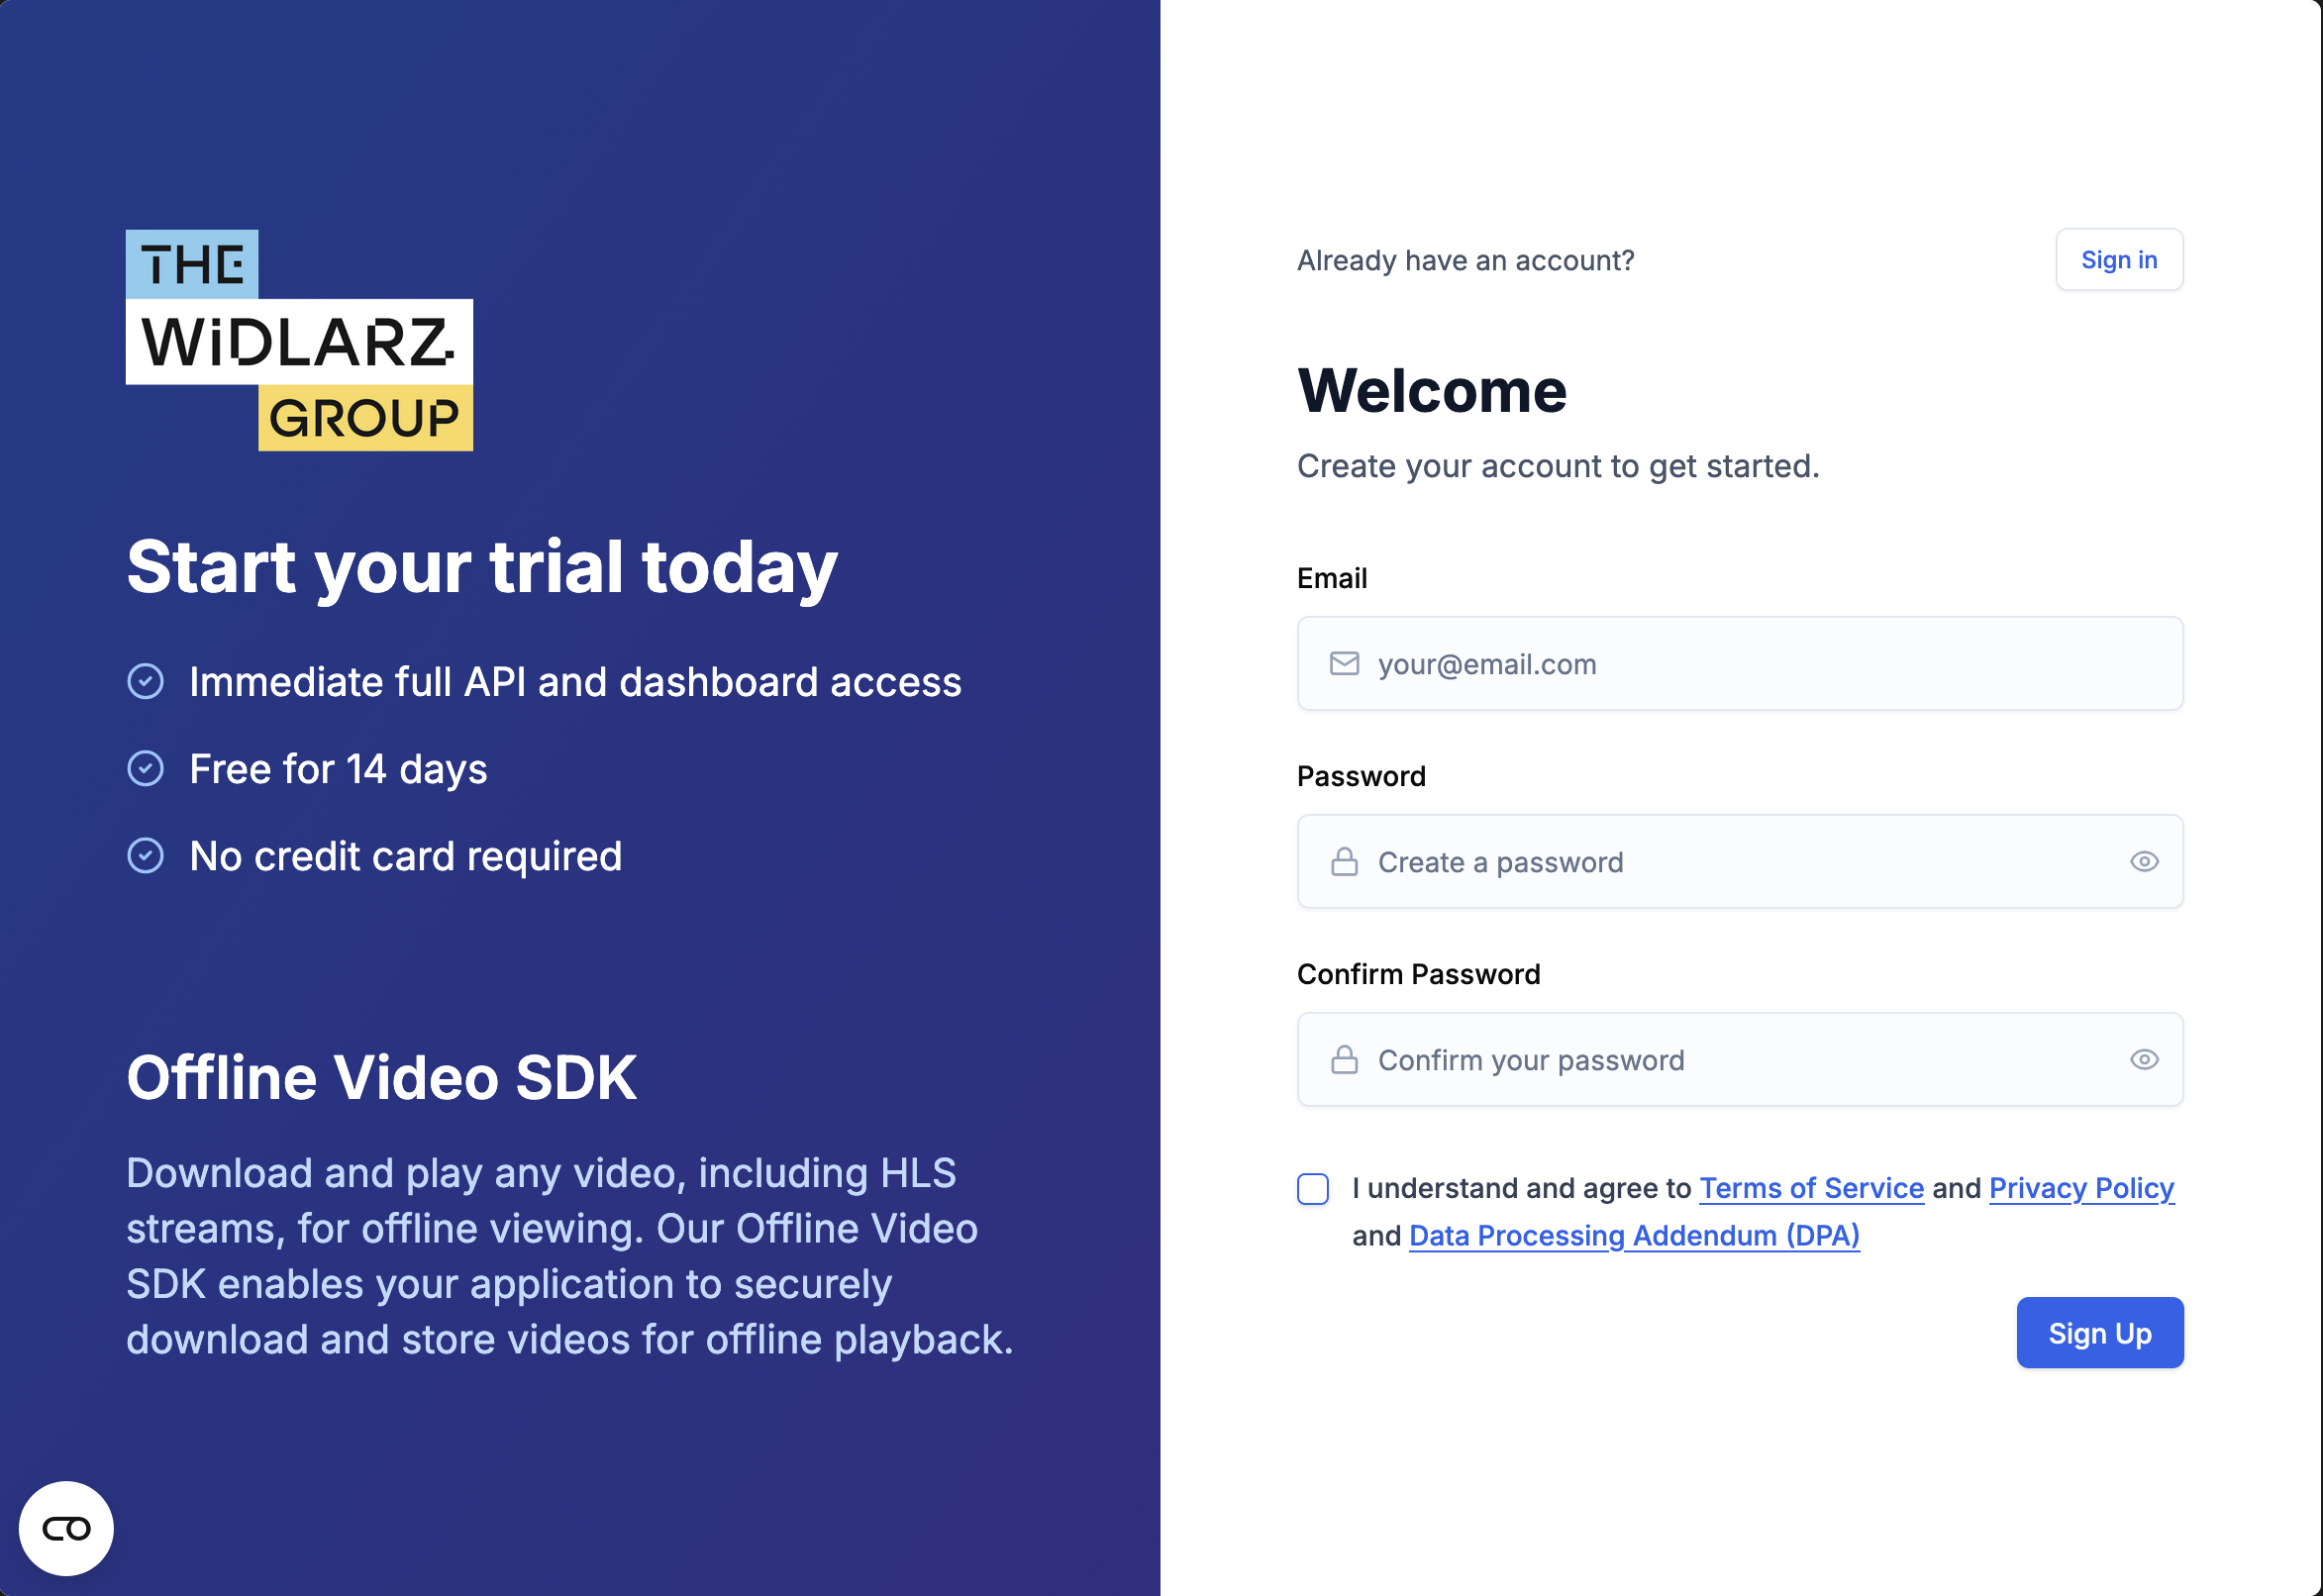
To securely handle downloads, you’ll need an API key from the SDK platform:
1. Sign up to your SDK platform dashboard.
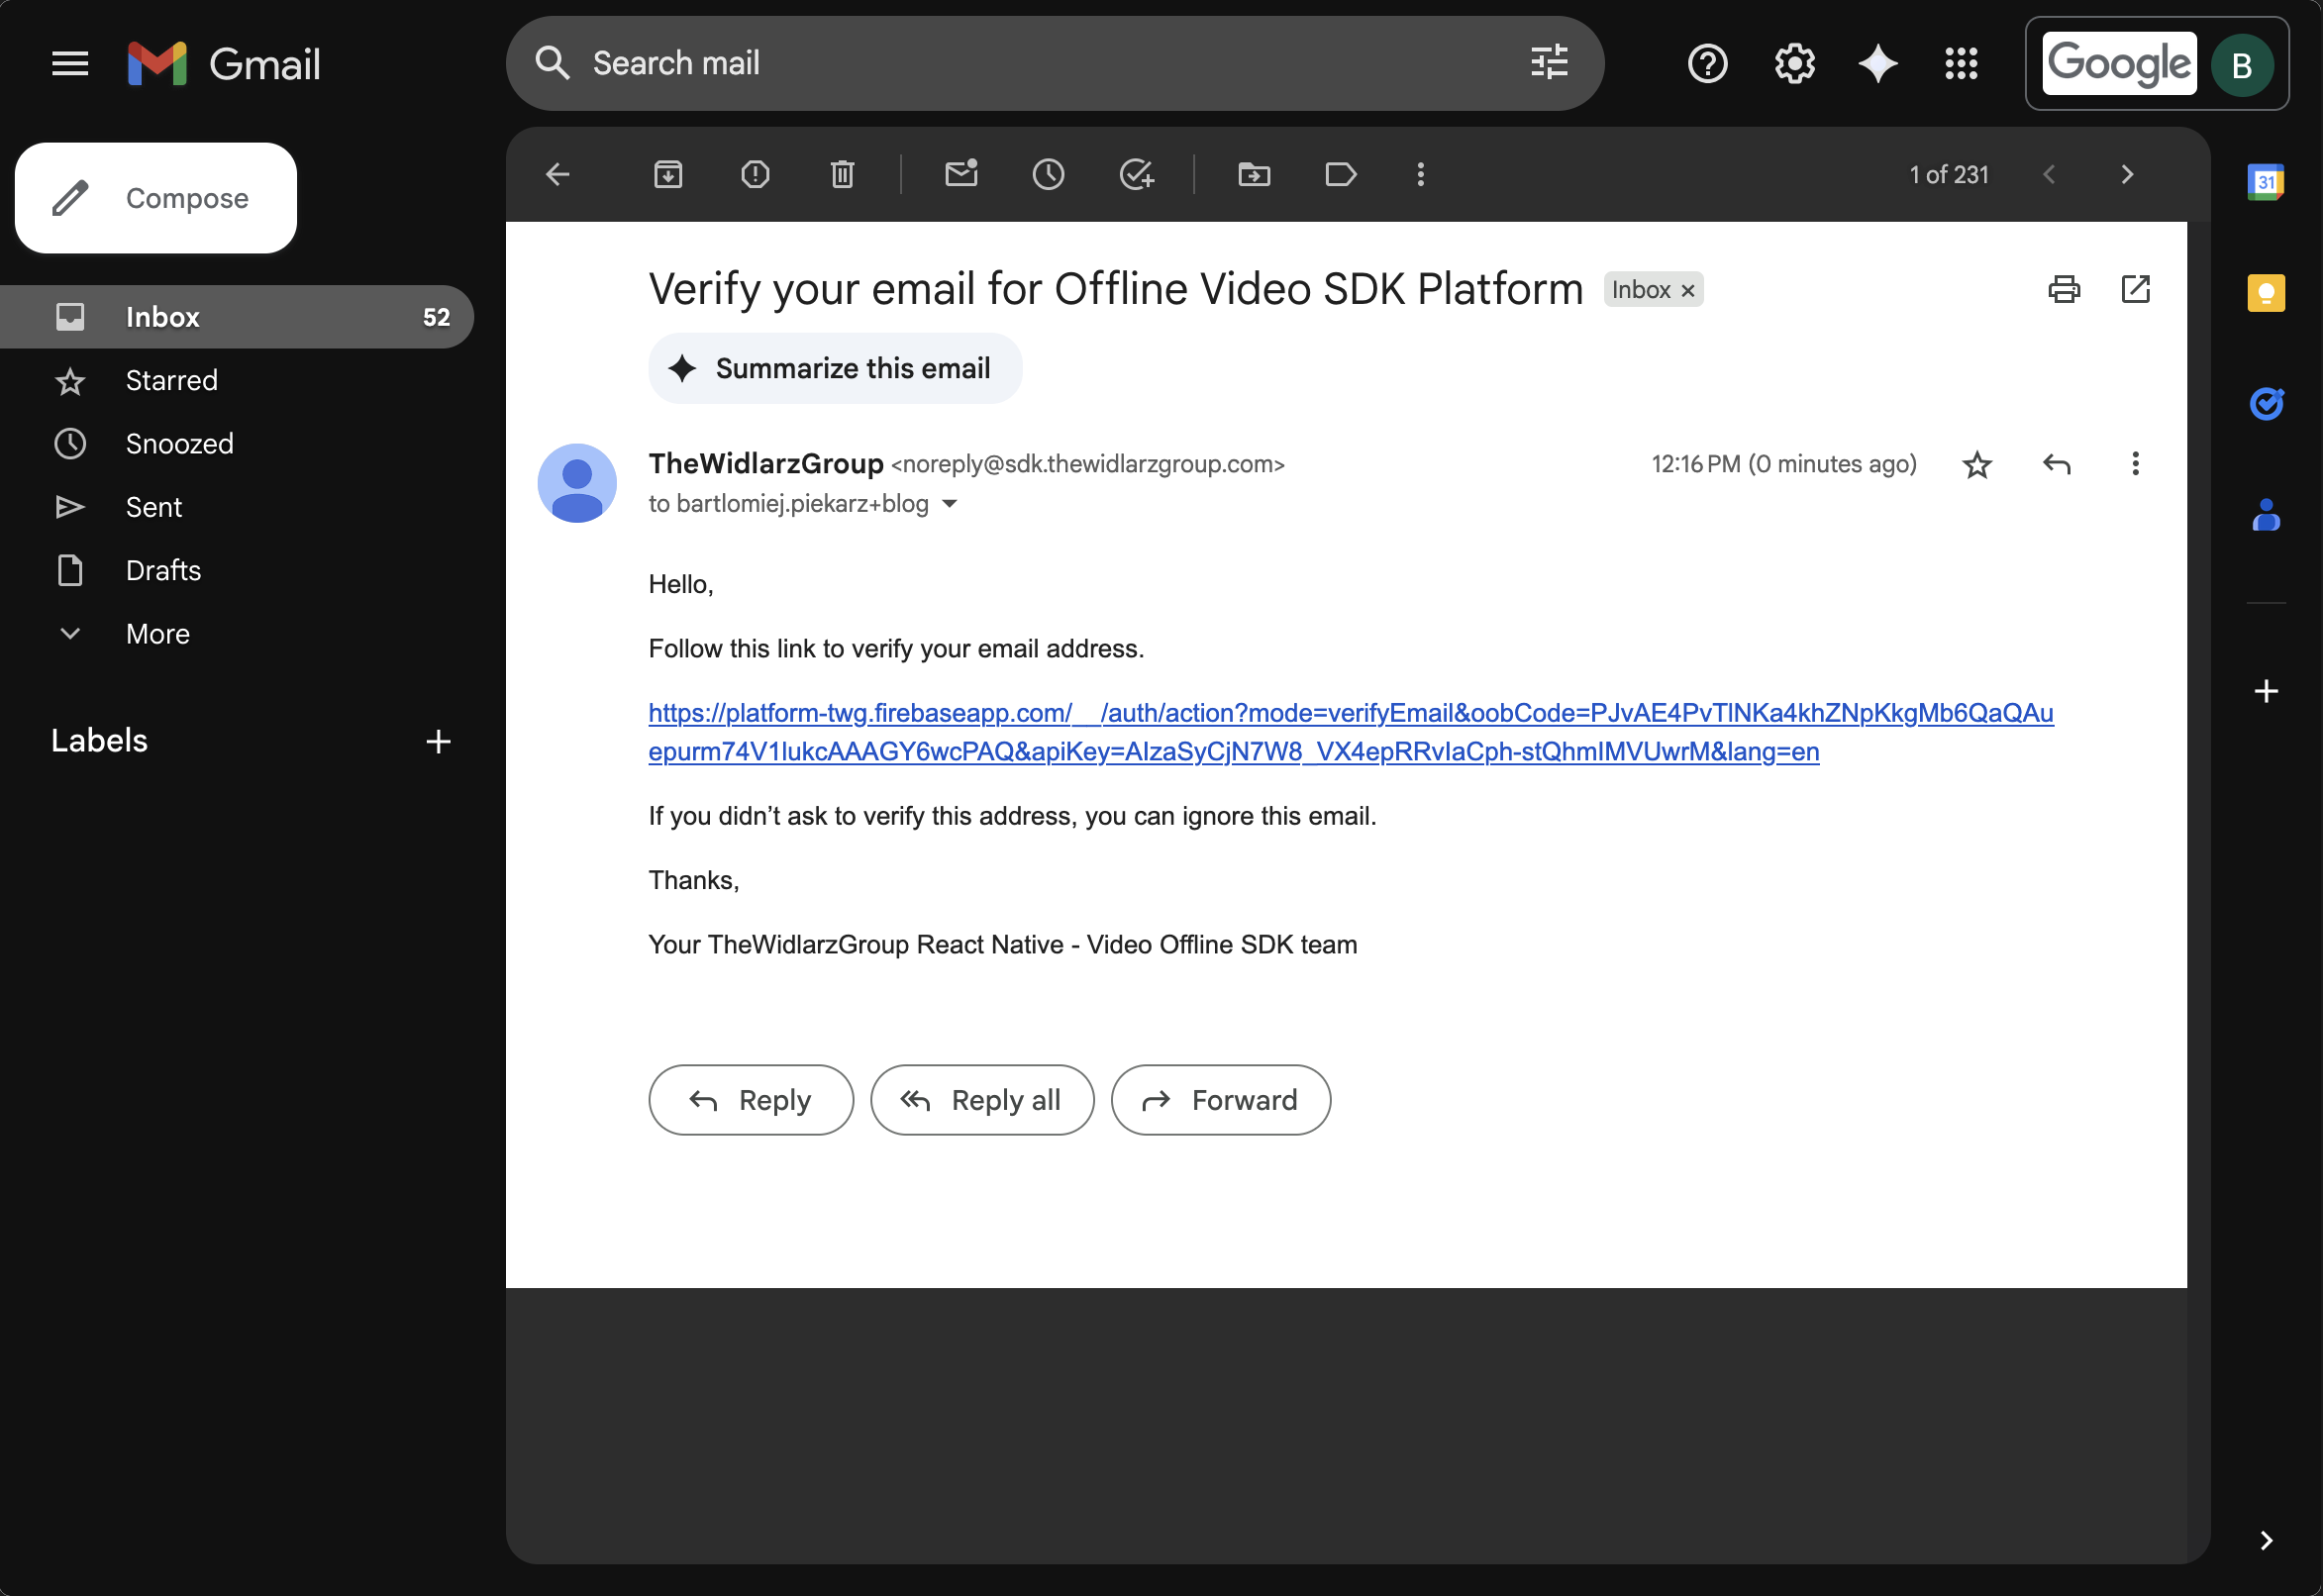
2. Verify Your Email and Navigate to Create Application.
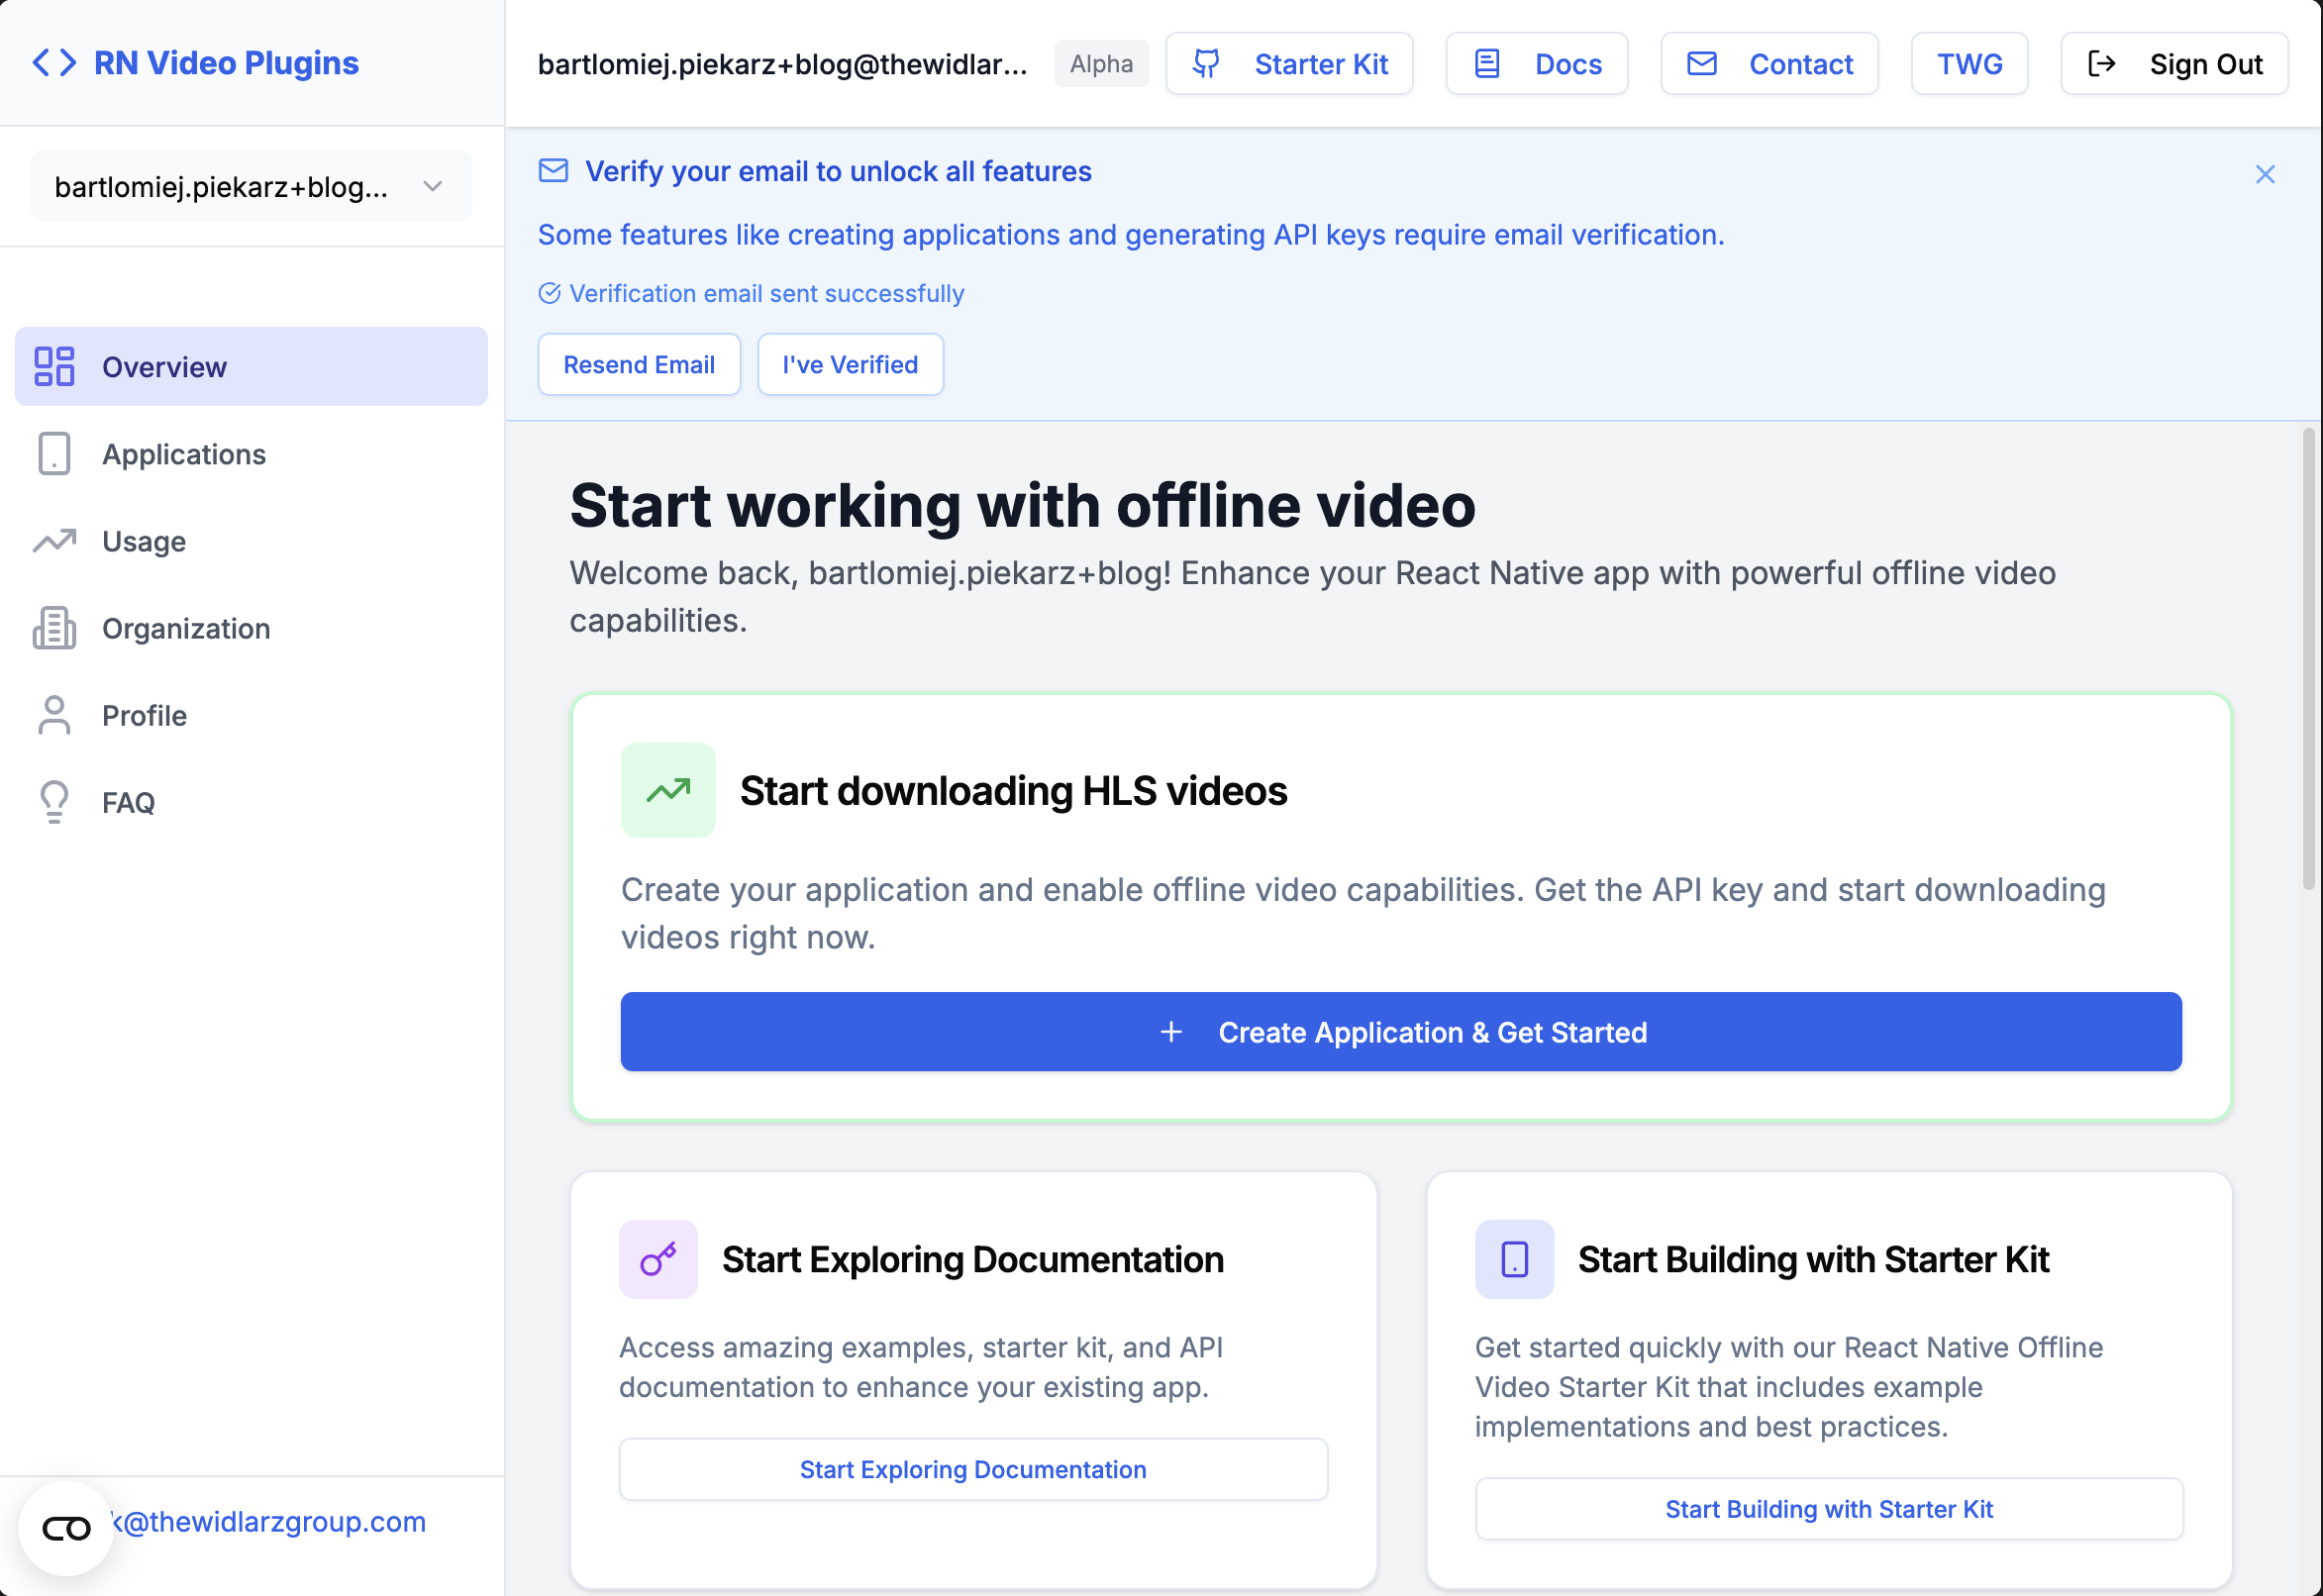
3. Create an application and then attach the stream-downloader plugin - it will automatically generate an API key and a GitHub token for you.

4. Now that you have your API key ready, there’s also a quick tutorial on how to get started, but you can just continue here with this guide.
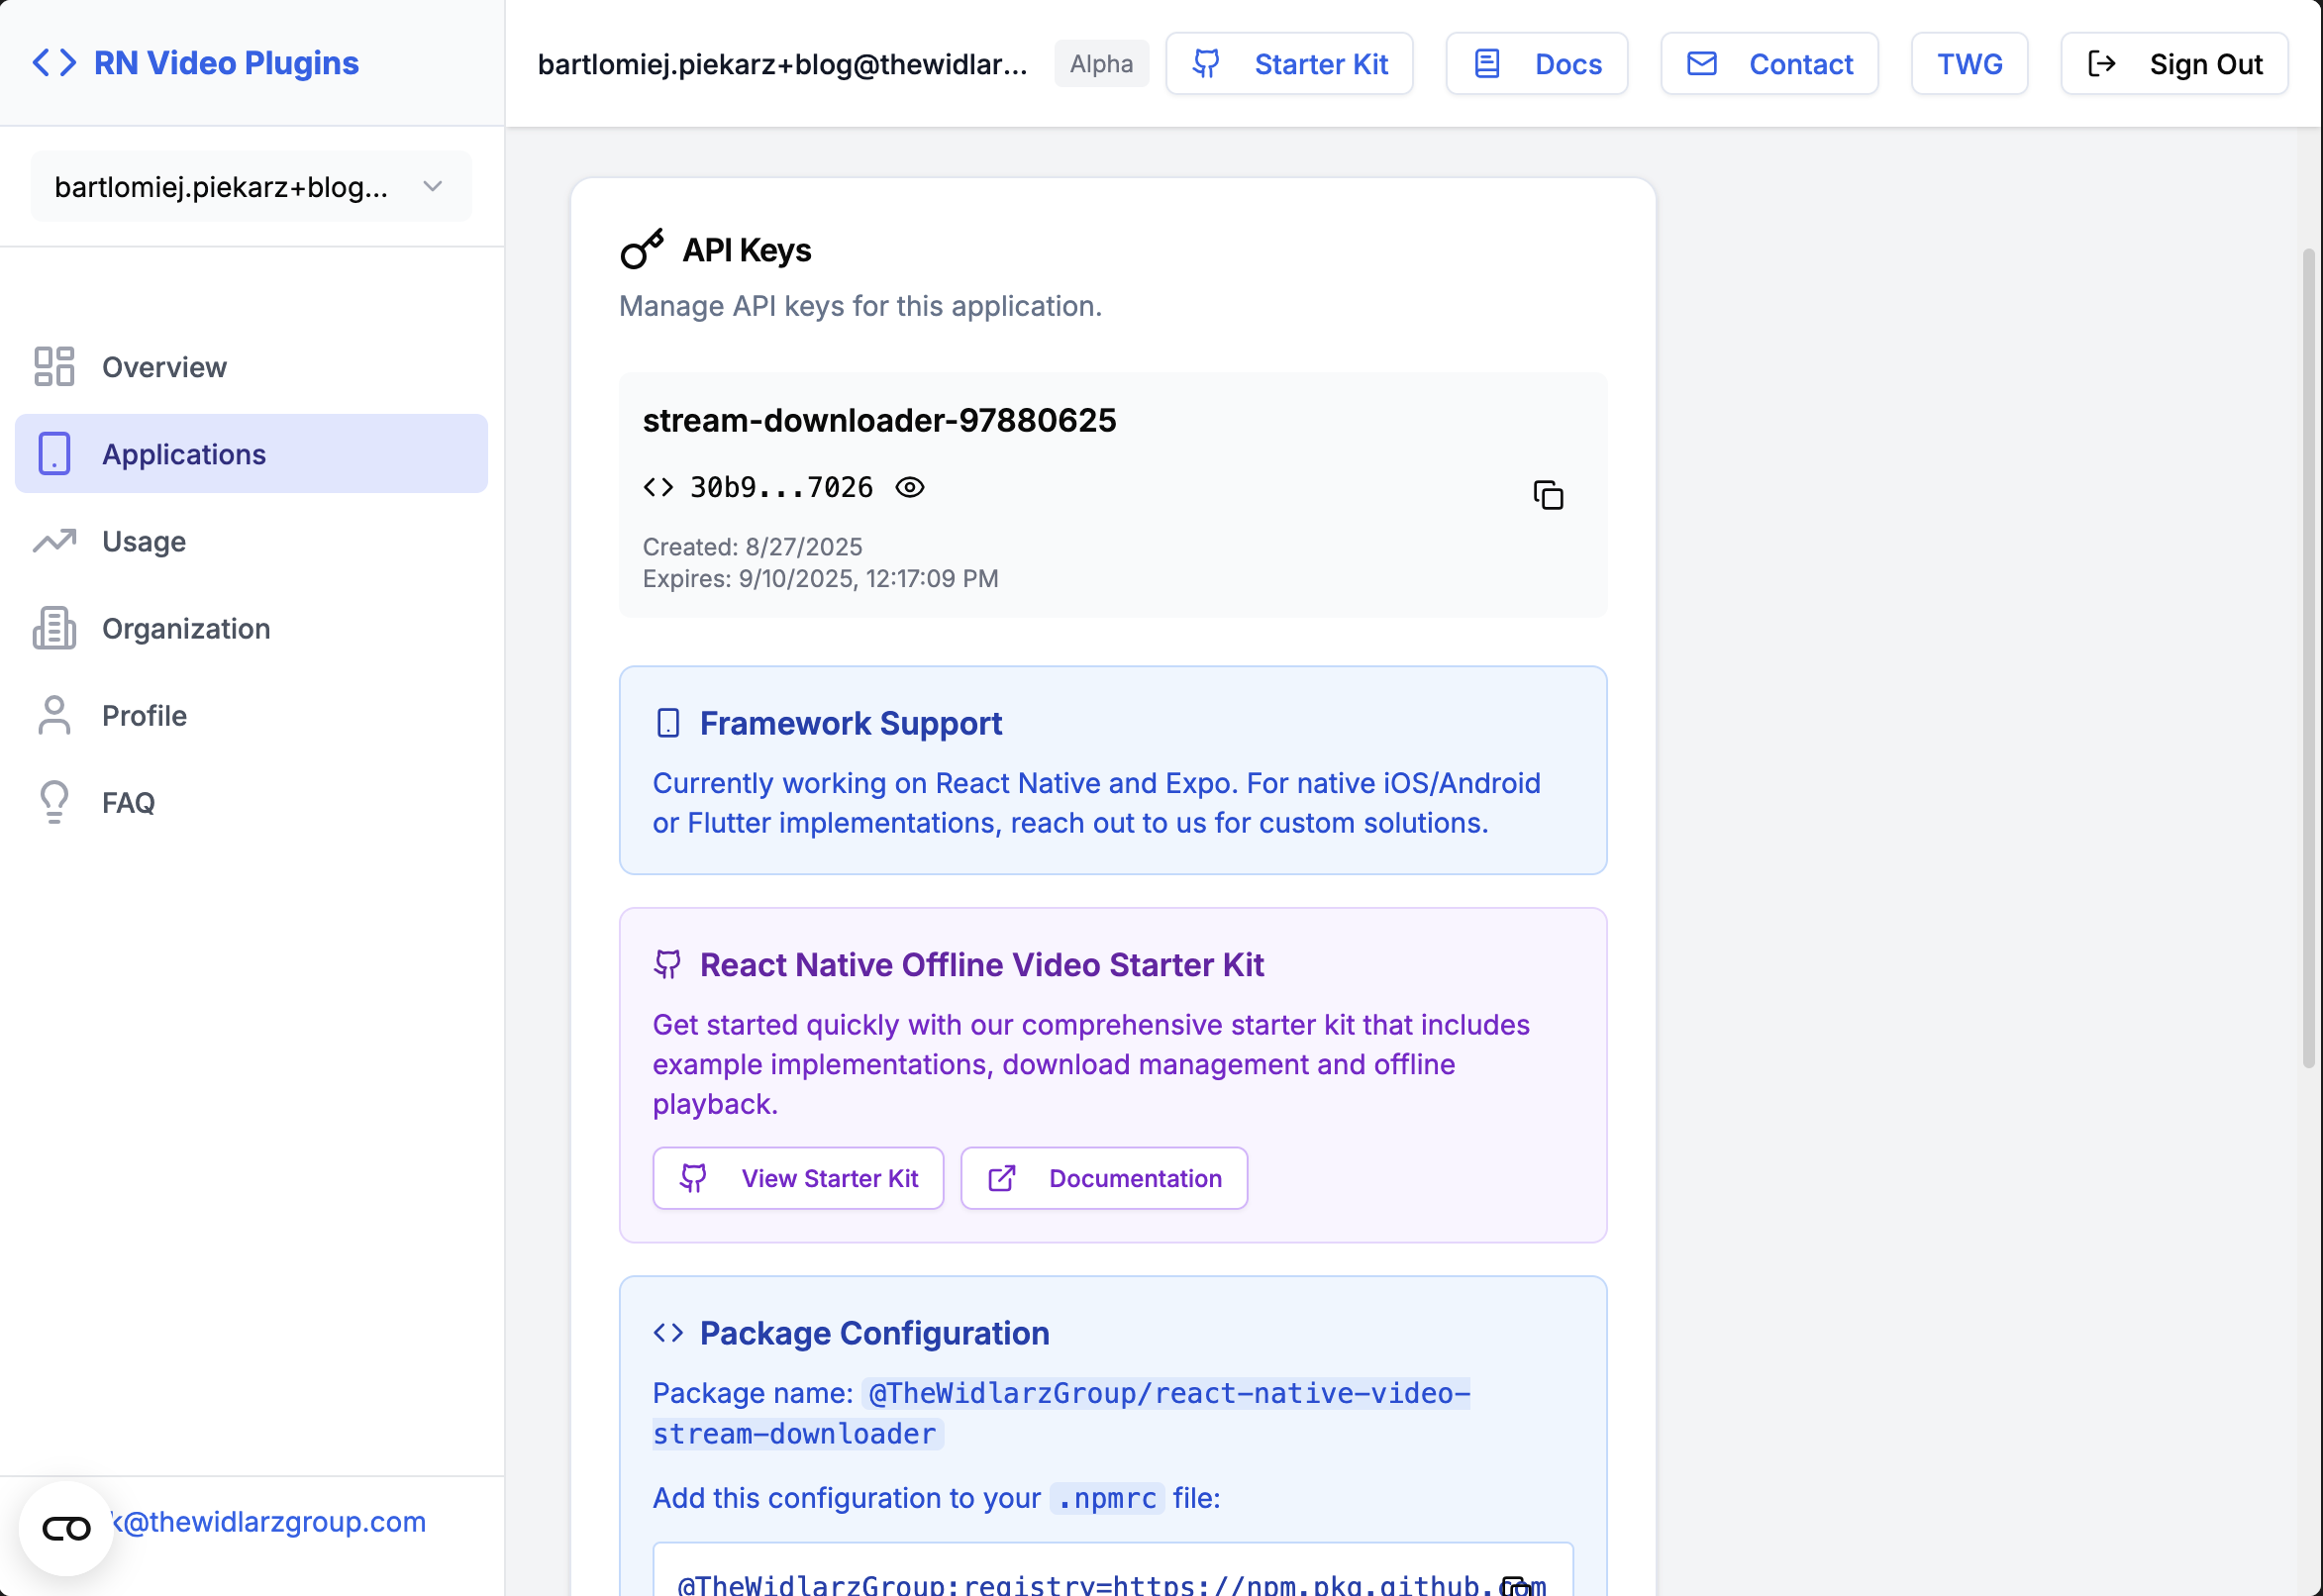
Before you install the package, you need to add your GitHub token to the .npmrc file (the one you got while creating the app - you can find it in the Package Configuration section - look image above).
@TheWidlarzGroup:registry=https://npm.pkg.github.com
//npm.pkg.github.com/:_authToken=ghp_your_token_here
Next you will be able to safely download the package:
npm install @TheWidlarzGroup/react-native-video-stream-downloaderLastly remember to add the code snippet below to your android/app/build.gradle file:
dependencies {
	  implementation fileTree(dir: "../../node_modules/@TheWidlarzGroup/react-native-video-stream-downloader/native-libs", include: ["*.aar"])
	  //...
}Now you will be able to import library into your VideoComponent.tsx for example:
import {
  deleteDownloadedAsset,
  downloadStream,
  getDownloadedAssets,
  getDownloadsStatus,
  registerPlugin,
  useEvent,
  type DownloadStatus,
  type DownloadedAsset,
} from '@TheWidlarzGroup/react-native-video-stream-downloader';

import React, { useEffect, useState } from 'react';
import { Alert, Image, Text, TouchableOpacity, View } from 'react-native';
import Video from 'react-native-video';
And than to make library work you need to register API key:
const API_KEY = 'YOUR_API_KEY_HERE';

useEffect(() => {
  const initializeSDK = async () => {
    try {
      await registerPlugin(API_KEY);
      await refreshData();
    } catch (error) {
      console.error('Error initializing SDK:', error);
    }
  };
  initializeSDK();
}, []);The SDK emits two important events:
- onDownloadProgress -> progress update
- onDownloadEnd -> when download is finished
Hook into them to keep your state up to date:
useEvent('onDownloadProgress', async () => {
  await refreshData();
});

useEvent('onDownloadEnd', async () => {
  await refreshData();
});
Manage state with useState:
const [downloads, setDownloads] = useState<DownloadStatus[]>([]);
const [assets, setAssets] = useState<DownloadedAsset[]>([]);

const refreshData = async () => {
  const [downloadStatuses, downloadedAssets] = await Promise.all([
    getDownloadsStatus(),
    getDownloadedAssets(),
  ]);
  setDownloads(downloadStatuses);
  setAssets(downloadedAssets);
};Create helper functions to start a download and remove a video:
const startDownload = async () => {
  try {
    await downloadStream(videoUrl);
    await refreshData();
  } catch (error) {
    Alert.alert('Download Error', 'Failed to start download.');
  }
};

const deleteDownload = async () => {
  const asset = assets.find((a) => a.url === videoUrl);
  if (asset) {
    await deleteDownloadedAsset(asset.id);
    await refreshData();
  }
};Once downloaded, you can play videos directly from the local file system:
const [currentVideoUri, setCurrentVideoUri] = useState<string | null>(null);

const playOffline = () => {
  const asset = assets.find((a) => a.url === videoUrl);
  if (asset?.pathToFile) {
    setCurrentVideoUri(asset.pathToFile);
  } else {
    Alert.alert('Not available', 'Please download the video first.');
  }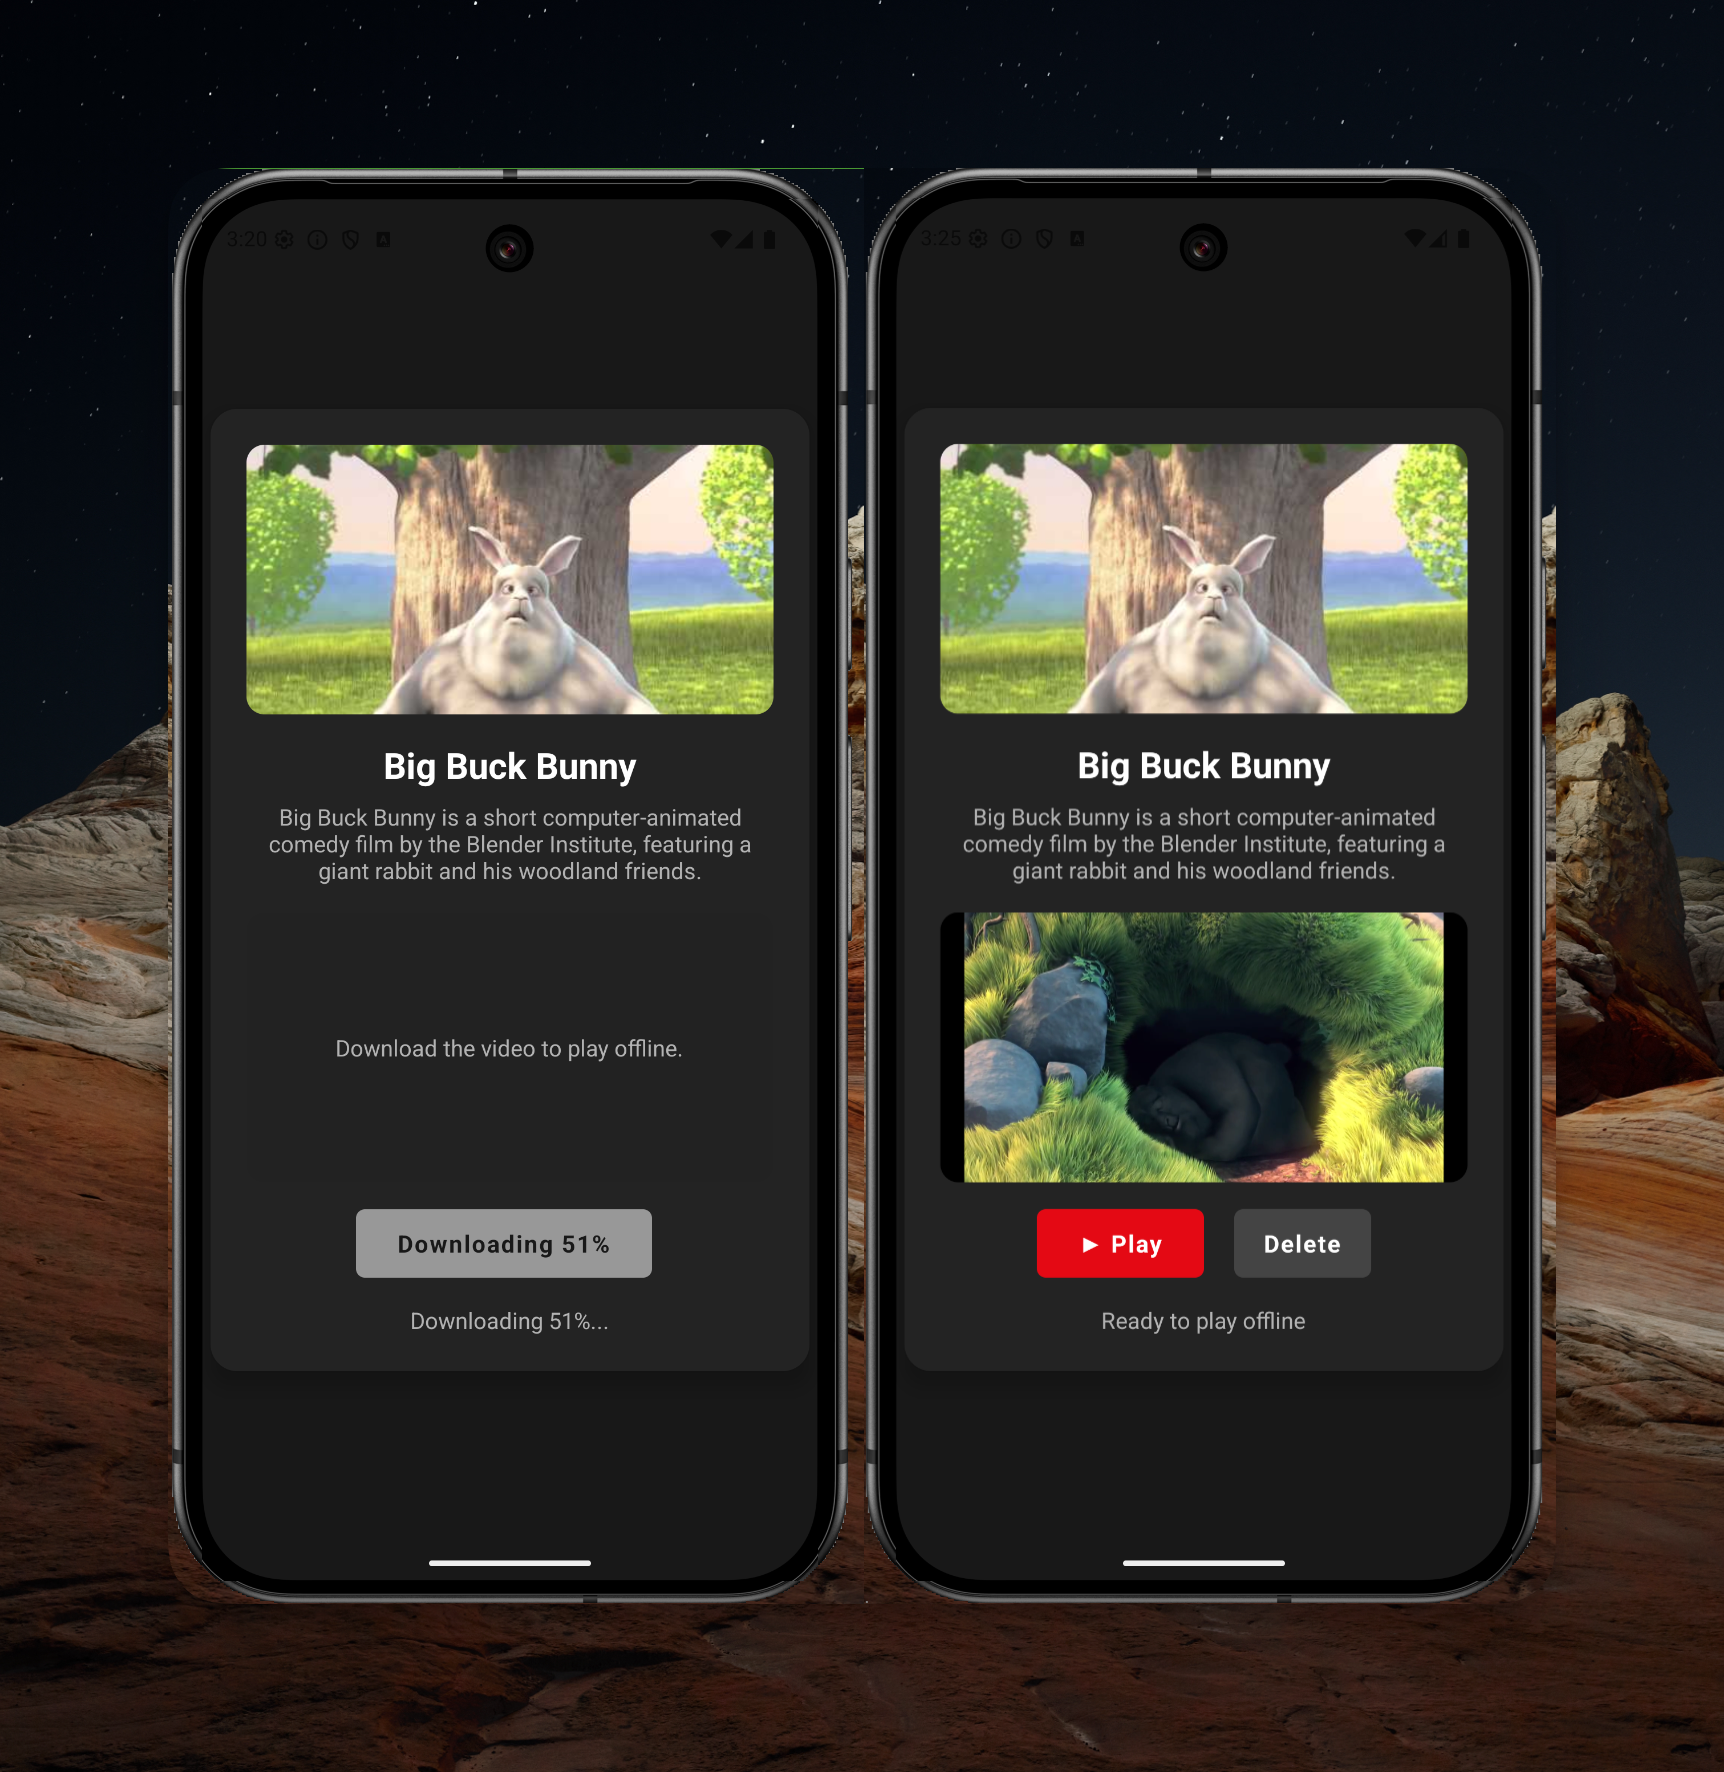
};Now connect everything with a simple UI:
{isDownloaded ? (
  <>
    <TouchableOpacity onPress={playOffline}>
      <Text>▶ Play</Text>
    </TouchableOpacity>
    <TouchableOpacity onPress={deleteDownload}>
      <Text>🗑 Delete</Text>
    </TouchableOpacity>
  </>
) : (
  <TouchableOpacity onPress={startDownload} disabled={downloadInProgress}>
    <Text>
      {downloadInProgress && downloadStatus
        ? `Downloading ${Math.round((downloadStatus.progress || 0) * 100)}%`
        : '⬇ Download'}
    </Text>
  </TouchableOpacity>
)}
At this moment, your video app is fully functional, featuring offline video playback. It can be implemented using either Expo or React Native. Quite impressive, isn’t it?
To make sure everything works correctly with our native libraries, you'll need to build your app using the native build commands:
expo run:ios
expo run:android
This ensures your app includes the required native modules and runs smoothly.
We've also prepared a full Expo example app that demonstrates how to integrate the Offline Video SDK for offline playback. You can explore the source code, see the setup in action, and use it as a starting point for your own project.
👉 Check out the GitHub repository here: Example App on GitHub

You can further customize the implementation as you wish. Here are some helpful resources that might help you do that:
📚 react-native-video Documentation
📦 Offline Video SDK Documentation
🚀 Starter Kit to help you get up and running quickly
💬 Contact Us if you need help or want to discuss your use case
1. Install and import the SDK + react-native-video.
2. Register Your API Key.
3. Listen to events (onDownloadProgress, onDownloadEnd).
4. Implement download/delete logic.
5. Play videos from local storage when offline.
6. Create a UI with Download, Play, and Delete buttons + progress updates.
This gives you a fully working offline video system in React Native and Expo 🎬✨

That’s it! You’ve now integrated offline video playback into your Expo app. With this setup, your users can download videos for later viewing, boosting engagement and reliability!


