
Thank you! Your submission has been received! 📨
Oops! Something went wrong while submitting the form.

Video playback is a must-have for many mobile apps, whether it's for tutorials, product demos, or streaming content. While Expo provides great support for React Native development, video integration usually requires a reliable library. One of the most widely used solutions is react-native-video, which gives you native controls, full customization, and great performance.
In this step-by-step guide, we'll start from creating a new Expo project, set up react-native-video, and then add a working video player with native controls.
First, let's create a fresh Expo project using the latest template:
npx create-expo-app@latest expo-video-example
cd expo-video-exampleNext, install the react-native-video package:
npm install react-native-videoNow open your project in your editor and replace the default index.tsx with the following code:
import React from 'react';
import { StyleSheet, Text, View } from 'react-native';
import Video from 'react-native-video';
export default function MainVideoExample() {
return (
<View style={styles.container}>
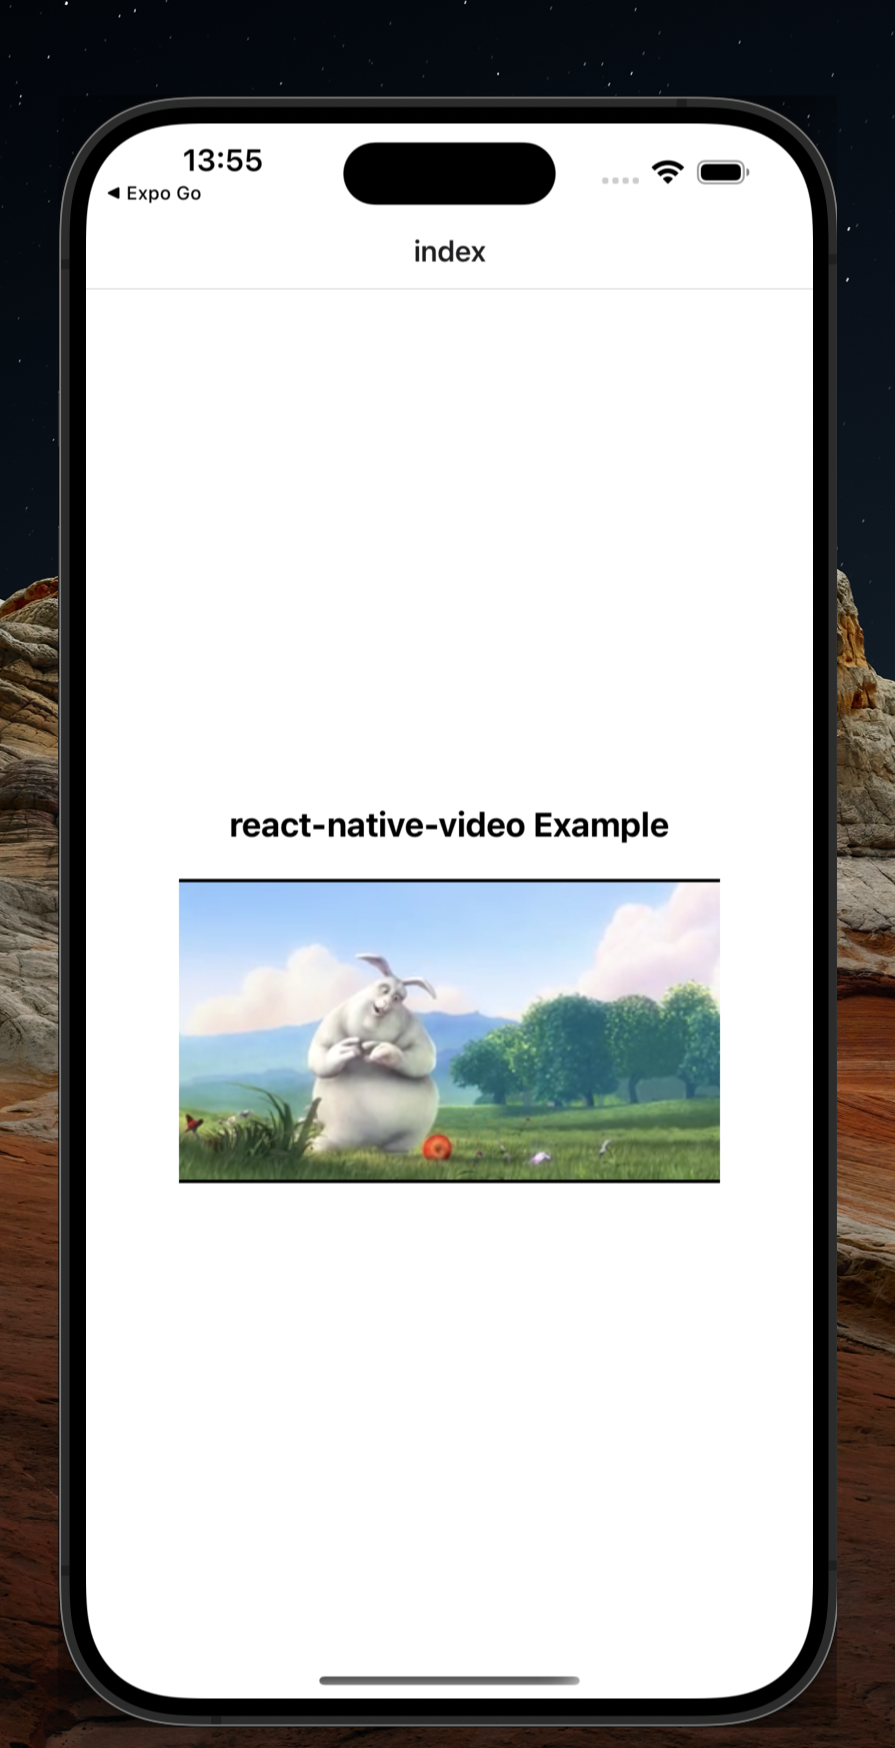
<Text style={styles.title}>react-native-video Example</Text>
<Video
source={{ uri: 'https://www.w3schools.com/html/mov_bbb.mp4' }}
style={styles.video}
controls
resizeMode="contain"
/>
</View>
);
}
const styles = StyleSheet.create({
container: {
flex: 1,
justifyContent: 'center',
alignItems: 'center',
backgroundColor: '#fff',
},
title: {
fontSize: 20,
marginBottom: 20,
fontWeight: 'bold',
},
video: {
width: 320,
height: 180,
backgroundColor: '#000',
},
});This simple example loads a sample video from the web, displays it with native controls (play, pause, fullscreen), and ensures it resizes properly.
Since react-native-video is a native library, you'll need to build the app:
npx expo run:ios
npx expo run:android
These commands generate a development build of your app. Unlike running the project in Expo Go, a dev build includes all the native dependencies that your project uses (for example react-native-video). This is necessary because Expo Go does not have those native libraries built in.
In short:
- npx expo run:ios -> compiles the iOS app with native code and launches it in the iOS simulator.
- npx expo run:android -> compiles the Android app with native code and launches it in the Android emulator (or on a connected device).
This way, you get a fully native environment where you can test and use libraries that depend on native modules.
That’s it! Yeah it's that simple, your Expo app is now playing video with native controls. From here, you can customize the player with more props like repeat, paused, onEnd, or even replace the native controls with a fully custom UI.
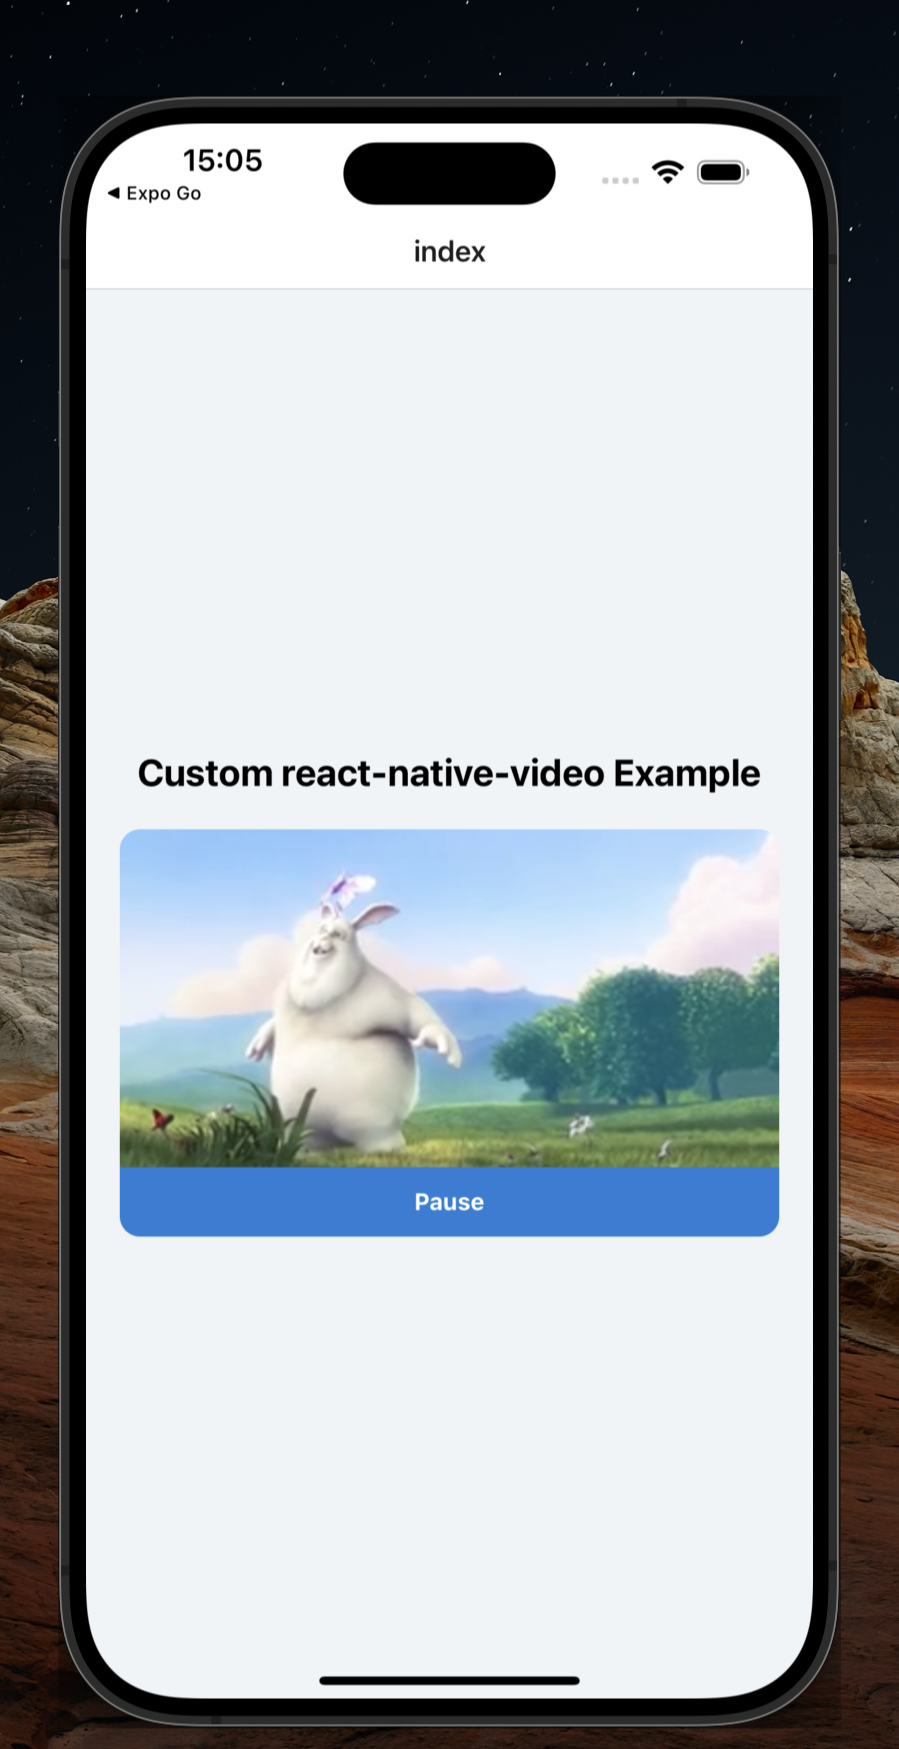
Here’s an updated example that demonstrates some common customizations: autoplay, looping, muted playback, and callbacks for end and errors.
import React, { useState } from 'react';
import { StyleSheet, Text, TouchableOpacity, View } from 'react-native';
import Video from 'react-native-video';

export default function CustomVideoExample() {
	const [paused, setPaused] = useState(false);

	const handleEnd = () => {
		alert('Video has finished playing!');
	};

	const handleError = (error: unknown) => {
		console.error('Video error:', error);
	};

	return (
		<View style={styles.container}>
			<Text style={styles.title}>Custom react-native-video Example</Text>
			<View style={styles.videoCard}>
				<Video
					source={{ uri: 'https://www.w3schools.com/html/mov_bbb.mp4' }}
					style={styles.video}
					controls
					resizeMode="cover"
					paused={paused}
					repeat={true}
					muted={false}
					onEnd={handleEnd}
					onError={handleError}
				/>
				<TouchableOpacity
					style={styles.button}
					onPress={() => setPaused(!paused)}
				>
					<Text style={styles.buttonText}>{paused ? 'Play' : 'Pause'}</Text>
				</TouchableOpacity>
			</View>
		</View>
	);
}

const styles = StyleSheet.create({
	container: {
		flex: 1,
		justifyContent: 'center',
		alignItems: 'center',
		backgroundColor: '#f0f4f7',
		padding: 20,
	},
	title: {
		fontSize: 22,
		fontWeight: 'bold',
		marginBottom: 20,
	},
	videoCard: {
		width: '100%',
		borderRadius: 12,
		overflow: 'hidden',
		backgroundColor: '#000',
		shadowColor: '#000',
		shadowOpacity: 0.3,
		shadowRadius: 6,
		shadowOffset: { width: 0, height: 3 },
		elevation: 5,
	},
	video: {
		width: '100%',
		height: 200,
	},
	button: {
		padding: 12,
		backgroundColor: '#1c7ed6',
		alignItems: 'center',
	},
	buttonText: {
		color: '#fff',
		fontWeight: 'bold',
	},
});
With just 80 lines of code, we have customized, high-performance video player. It is just amazing!
We've also prepared a full Expo example app that demonstrates how to integrate the Offline Video SDK for offline playback. You can explore the source code, see the setup in action, and use it as a starting point for your own project.
👉 Check out the GitHub repository here: Example App on GitHub
You've just learned how to integrate react-native-video into an Expo app in just a few steps. With this setup, you have a flexible, high-performance video player ready for your projects. Whether you’re embedding tutorials, adding background media, or building a full streaming app, react-native-video is a solid choice.

